A few GailVanTatenhove came to New Zealand a few years back, I fell in love with the Pixon™ Projectas another great tool to have in my tool kit.
Before I go on, I want to first let you know where you can find out more:
Information about the Pixon™ Project can be found<a href="http://www.vantatenhove.com/resources" name="Pixon Project">here</a>
To purchase the<a href="https://store.prentrom.com/the-pixon-sup-tm-sup-project-kit">project kit</a>(symbols, board layouts, etc)
Oh and before I forget...Pixons™ icons and Pixon™ Project Kit materials are the copyright of Semantic Compaction Systems, Inc.
Okay, today I made up a custom Pixon™ book for a new client and I thought it might be a good time to document my method for constructing these books.
The main point of this post is to document my approach to assembling pages.You can use any type of symbol and any vocabulary arrangement. I personally like that I can do most types of 2 symbol combinations with this Pixon™ book style format without having to turn pages between the two symbol combinations likeverb + preposition (aka phrasal verbs!),modifierand then noun (i.e., how manydogs, how much water), pronoun + verb (i.e., like), verb + adverb (i.e., go quickly), and adjective + noun (i.e., red shirt).
So here are the steps:
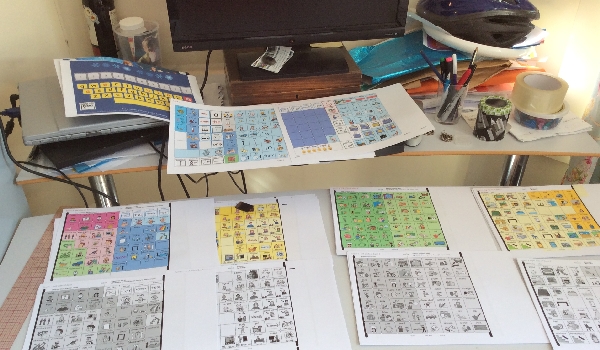
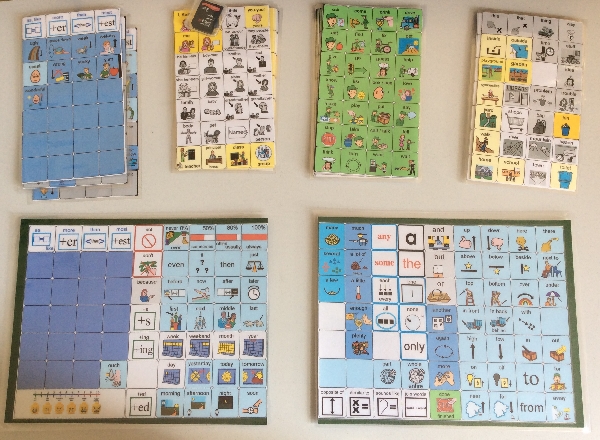
First print out all of the boards. I often save as a PDF so anyone can print even if they don't have Boardmaker. Just make sure the scaling is correclty set to 100%.
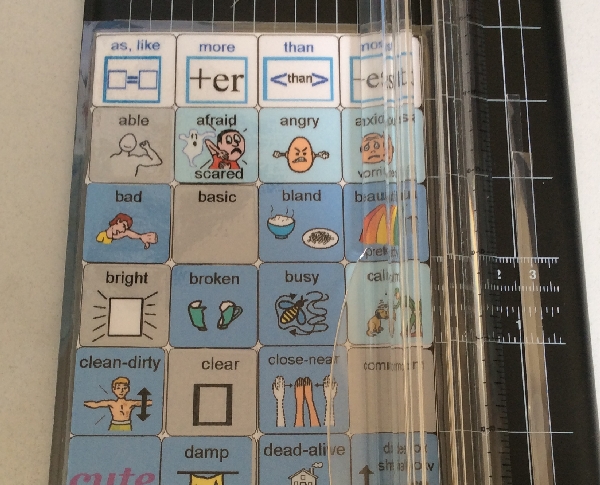
 Then trim all of the boards.
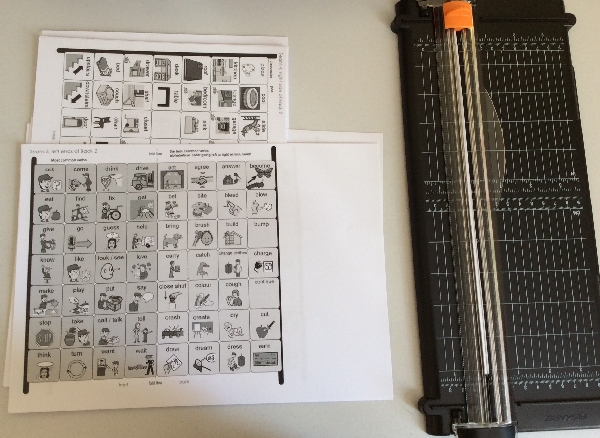 Then fold the pages in half.
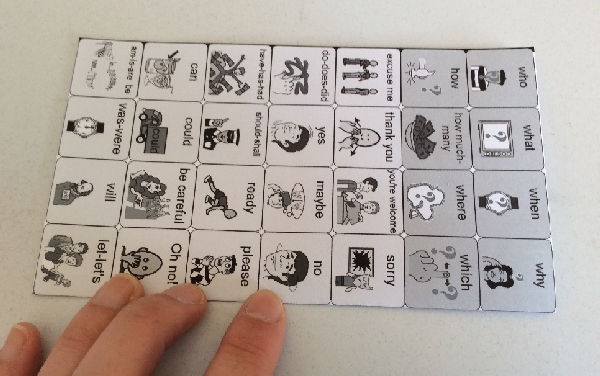 Cut out the coloured symbosl you want in the first version of the book.
 Paste them on top of the grayscale pages and lamintate them. Trim 1/4 inch around each laminated page.
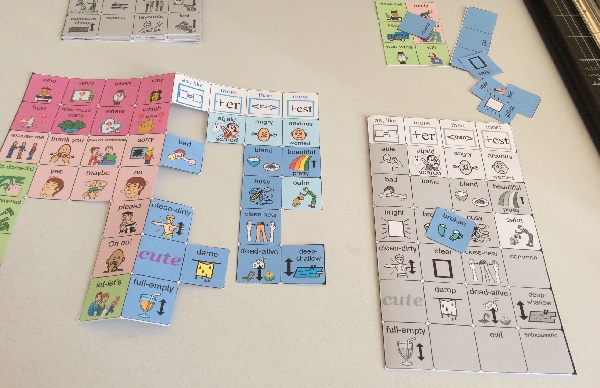
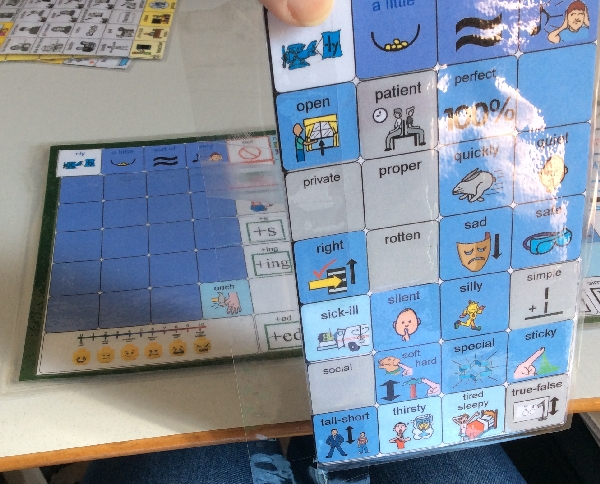
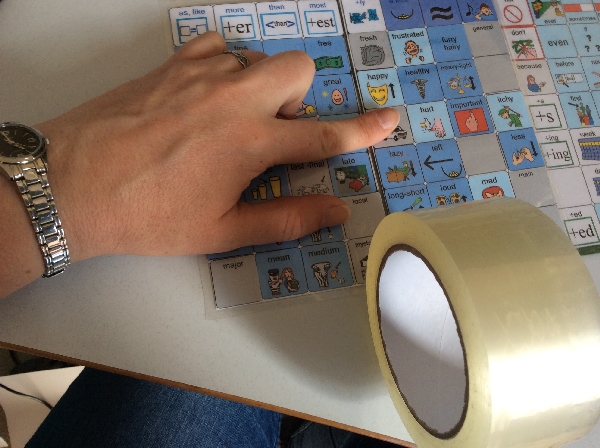
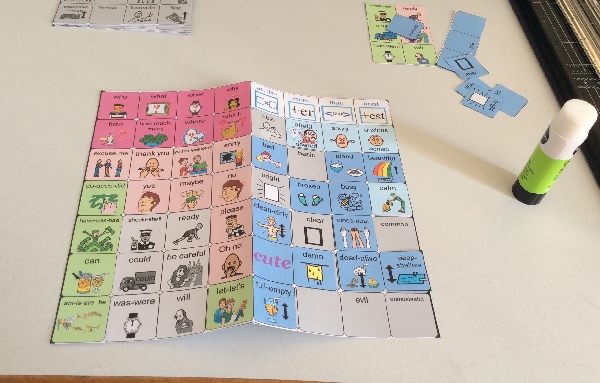 Lay out all of the pages to double check the layout.
 Trim the seam edge (ONLY)
 Tape the back two cover pages together
 Then to add the pages. I work from left to right and from inside out. In other words, the first page I attached is the left stack of pages, starting with the last adjective page then working my way up until I am at the top page of question words.
 Tape the top of the page to the cover along the seam.
 Open the page and tape the inside seam.
Repeat for all of the pages.
Trim any extra tape and reinforce any parts you think need it.
Voila - yet another type of communication book ready to be put into action.
Open the page and tape the inside seam.
Repeat for all of the pages.
Trim any extra tape and reinforce any parts you think need it.
Voila - yet another type of communication book ready to be put into action.